On numerous situations, when we accidentally forget to save the Word file on Mac or accidentally delete it, do we have the option of recovering it? The answer is yes. But what happens when you permanently delete the files or they are no longer visible on your computer?
How to recover a word document? There are several ways of recovering the lost file. In this post, we will discuss three methods to recover word document Mac and learn about how to recover a word document.
Ways to recover word document Mac
#Method 1: Recover Deleted Word Files from a Backup or Trash
Whenever you face data loss issues or accidentally delete some files, there are multiple ways to recover them. The obvious and easiest method for recovering unsaved word documents is to search for them in the backup Trash Folder.
Click on the Trash Folder icon displayed in the lower left corner of your Mac’s screen. The deleted files of Word folder are not visible to the operating system if they lie in the Trash Folder. But these files are not removed from your system until you have deleted the files from the Trash Folder also.
If the files you want to recover are stored in the Trash Folder, restoring them is easy. You just have to right click on the file you want to recover and select “Put Back”. This will restore the file to its original location and you will recover word document Mac.
Also Read: How Do Pirate Bay Proxies Work?
# Method 2: Recover Unsaved Word Docs on a Mac with AutoRecovery
Microsoft Word for Mac users comes with an Auto Recovery feature that helps you recover the file that you failed to save. Once you have installed the application, the AutoRecovery option will be turned by default and it will save a copy of your document every 10 minutes.
However, you can change the settings to save the documents at shorter or longer time intervals. Even if your application or PC crashes while you are using Word document, you will be able to get it back in the state when you last saved it.
Follow these steps to recover an unsaved Word Doc on your Mac.
- Open the Finder Window on Mac and choose “Entire computer” as your location which will be searched for your file. Enter ‘AutoRecovery’ in the Search field.
- A list of files with name “AutoRecovery save of” followed by the name of the Word document will be displayed on your screen.
- Now, double-click on the file you want to recover and the file will be opened in Microsoft Word.
- Now, go on the File menu and choose Save As. Enter a new name for the file and click the Save button.
This method will only work for files that are in the process of being worked on when they got lost. Recovering unsaved word documents by this procedure is possible only if you have not turned off the AutoRecovery option.
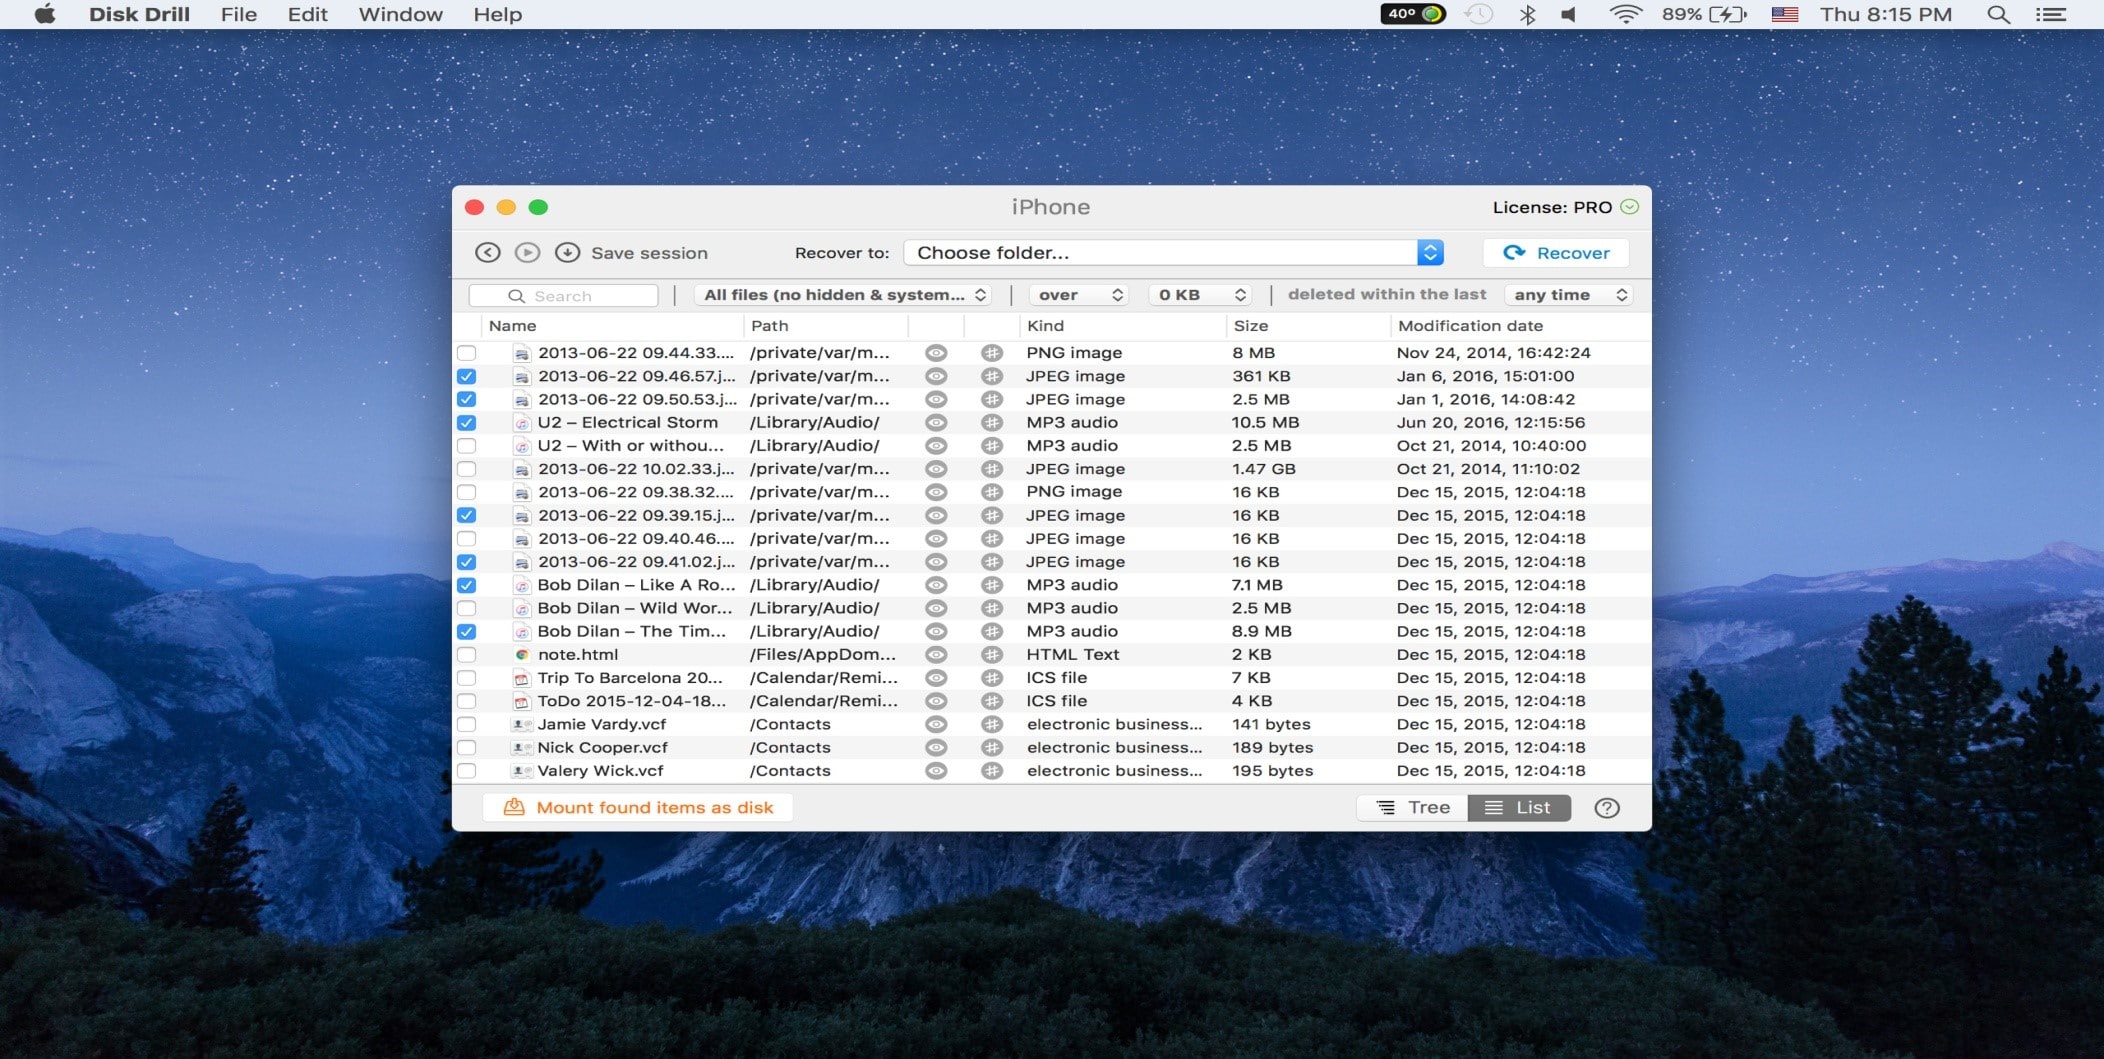
# Method 3: Recover Deleted Word Documents using Disk Drill
Disk Drill data recovery software is a robust method which helps you recover all the files that you cannot find on your computer. This software works by in-depth scanning technology and extracts your deleted files and file fragments that are stored in your computer but are not visible on your operating system. You can check out more info about this software on its official website.

You just have to follow the steps mentioned below to recover lost word document Mac:
Must Check: The Best BBC VPNs Troubleshooting Tips and Tricks
- Stop operating your computer when you cannot find the files. Any further operation on your computer may overwrite the files and you will no longer be able to recover them.
- You can download and install Disk Drill from its official website. It is advised to install it on your USB drive so as to prevent overwriting your files.
- Launch and open your application and choose the disk on which your lost files were stored.
- Now, click on “Recover” and Disk Drill will begin scanning your computer. You can apply filters to search for specific types of files and quicken up the scanning process.
- After the scan is complete, the application will display a list of files that can be recovered.
- If you find the preview stating that your files can be recovered, then you will have to upgrade to the Pro version of Disk Drill to get the files back.
- Once you upgrade, you will be asked to select a location where you want the files to be stored. Make sure that you have not used the original location because this may overwrite the files.
- Now, again click “Recover” and restore your lost files to the new location.
Conclusion
The methods listed above work effectively whenever you want to recover lost word document Mac. Follow the steps carefully and you will be able to recover your unsaved document without any hassles.
You Might Also Be Interested In:
